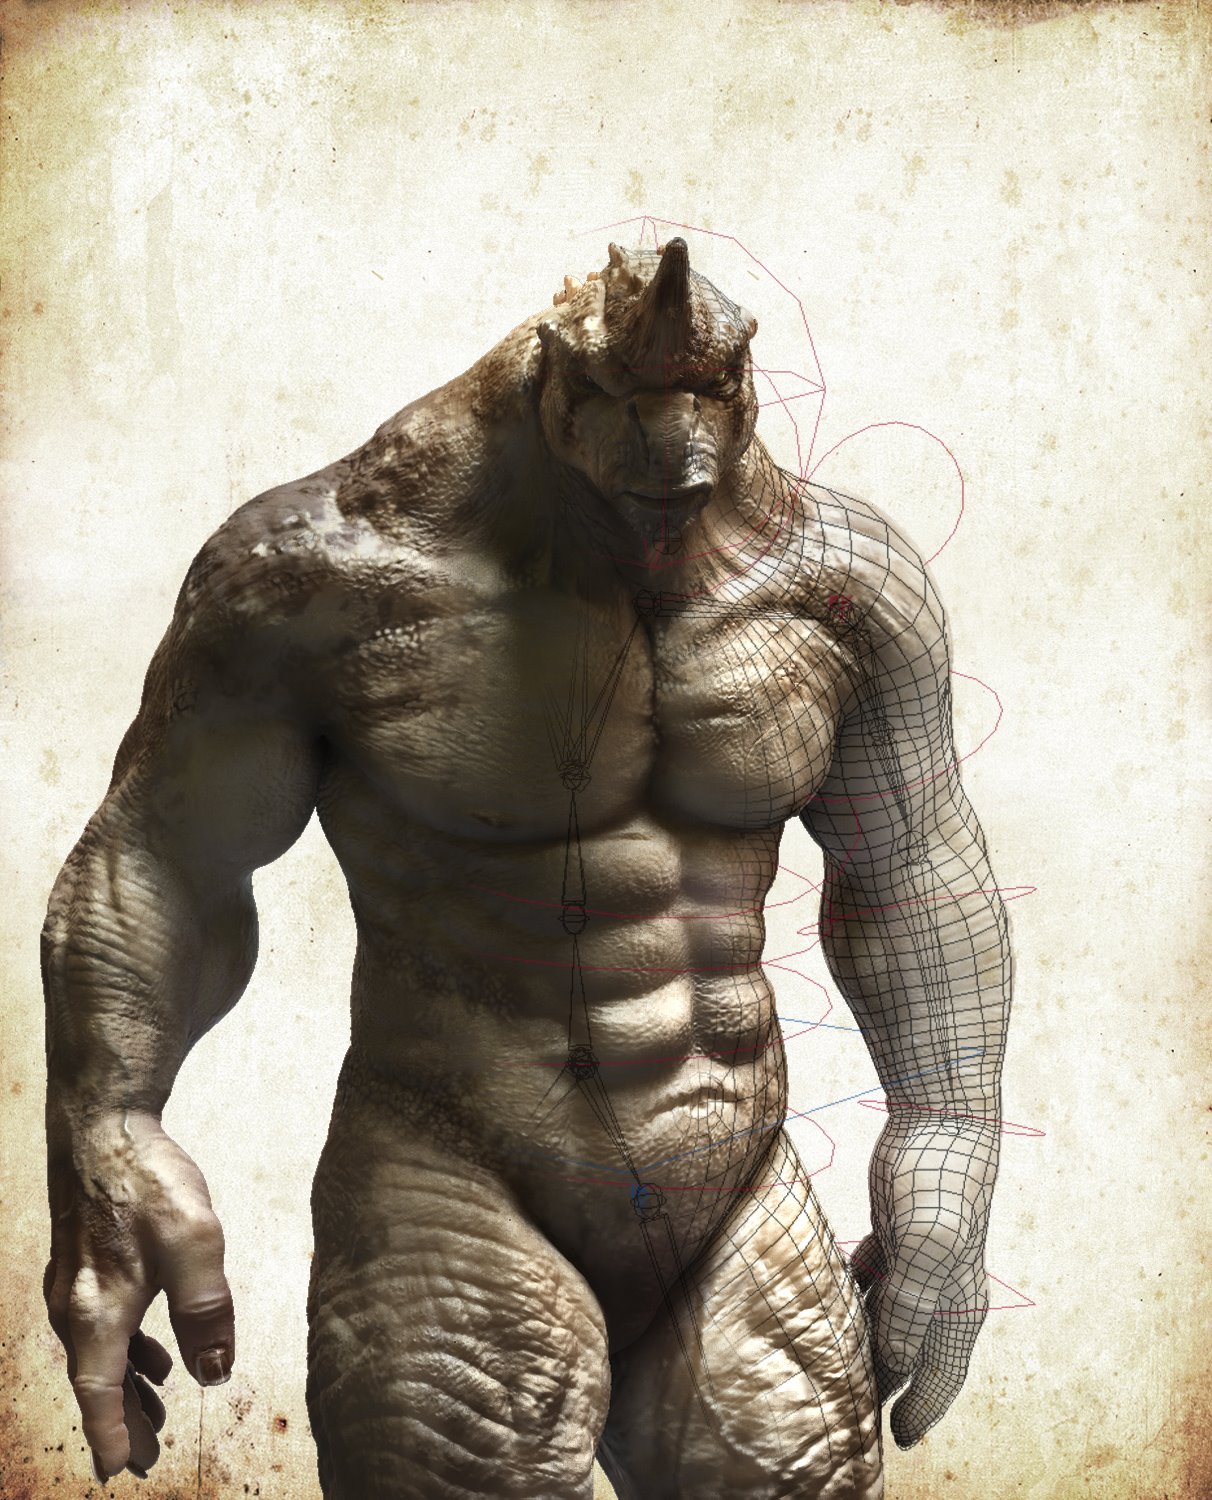
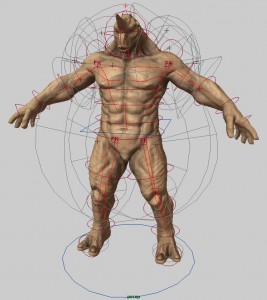
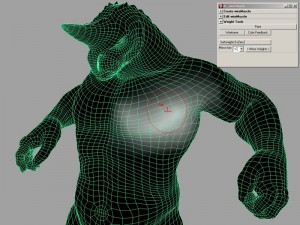
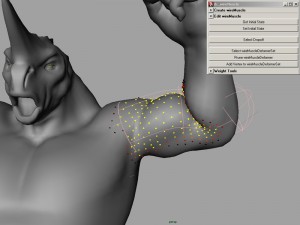
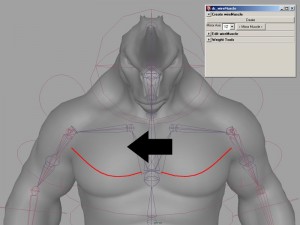
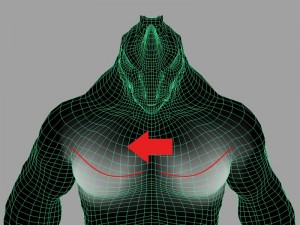
The Way (maya muscle system)
Two years ago I was interviewed by an animation blog before I moved to L.A. The technique looks kinda old now but maybe someone will find it interesting.
This is part of the inverview, go to arteyanimacion for the whole thing. Also you will find some cool resources and articles in that blog.
THE IDEA
TECHNIQUE
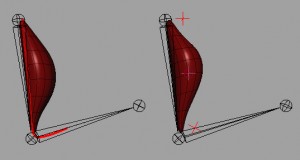
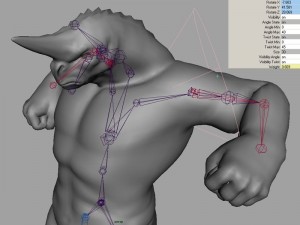
The techniques were about creating a muscle from a simple curve, and then attach it to the extremes of that curve, as in the real life. It is as fusiform muscle but with the difference that you get a non linear deformer as it is attached to a curve.
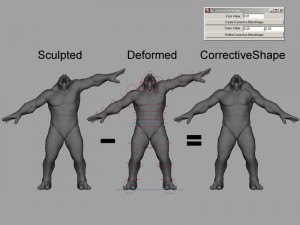
A part from the muscle system, I developed a system of PSD (Pose Space Deformer), in order to correct not accurate deformations.
REALIZATION PROCESS
The Animation character rig has got standard biped functions. It was on the deformations where I could innovate a bit.
At the beginning I started to make every muscle from fusiform, but I realized the behavior was not what I was expecting as the anchorage system was too basic. It’s very useful and it is ver fast to apply into a character, but the deformation is not as good as it should.
Creating muscles from curves made their behavior much more realistic. I only had to draw the curve where I wanted the muscle and make the skin of the skeleton to follow the character.
Once the muscle deformers were created, instead of creating a tool of mirror for the weights (it’s usually a very slow process even with API), I used the skincluster mirror weights, which is very fast.
What I did was:
– Get the deformer’s weights, apply them to temporary mesh and bones and make a mirror weights to those temporary bones.
– Once I had those temporary weights already in the mirror, I only had to apply them to the mirror deformer and erase the temporary objects.
House of Cards
Test done with the Radiohead’s clip ‘House of Cards’. I wrote a python script to import the Cvs data into Houdini. It imports point position and intensity.
If you are interested to do some experiments with the data, you can find the project here:
http://code.google.com/creative/radiohead/
First test using a particleFluidSurface SOP node to create a mesh on the point cloud data:
[vimeo width=”460″ height=”342″]http://www.vimeo.com/21334136[/vimeo]
Playblast from viewport showing the point colors in action.
[vimeo width=”460″ height=”342″]http://www.vimeo.com/21334261[/vimeo]
Final test, using some random techniques:
[vimeo width=”460″ height=”342″]http://www.vimeo.com/9198820[/vimeo]
This is the code I wrote to import the point cloud data into Houdini, nothing fancy, but it can give you a good start point.
[python]
import hou
path = “D:\shared\HoC\HoC_AnimationData\\”
geoNode = hou.node(‘/obj’).createNode(‘geo’)
for i in range(1,2102):#2101
f = open(path + str(i) + “.csv”)
#get info
position = []
for line in f:
info=line.split(“,”)
t = info[3].replace(“\n”,””)
position.append((info[0],info[1],info[2],t))
f.close()
#create add node
addNode = geoNode.createNode(“add”)
addNode.parm(‘points’).set(len(position))
#set add node
for p in range(len(position)):
#active point
addNode.parm(“usept” + str(p)).set(1)
#position
addNode.parm(“pt” + str(p) + “x”).set(position[p][0])
addNode.parm(“pt” + str(p) + “y”).set(position[p][1])
addNode.parm(“pt” + str(p) + “z”).set(position[p][2])
#intensity
color = float(position[p][3])/100
addNode.parm(“weight” + str(p)).set(color)
#save geometry
hou.node(addNode.path()).geometry().saveToFile(path + str(i) + “.bgeo”)
#delete geometry
addNode.destroy()
geoNode.destroy()
[/python]
Herd System
Crowd system for Maya developed in 2006.
[vimeo width=”620″ height=”488″]http://www.vimeo.com/9124271[/vimeo]

